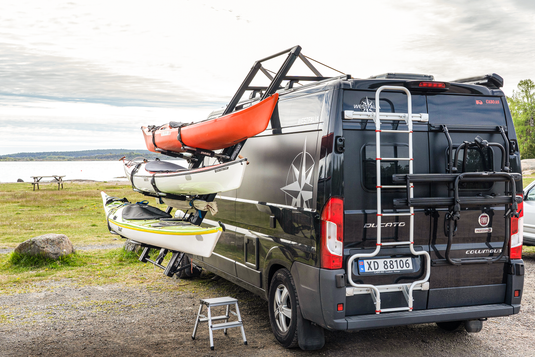
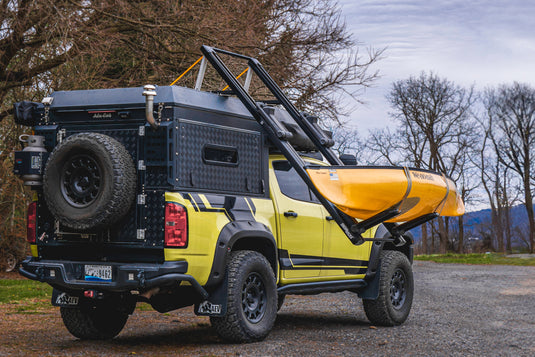
Roof tents are becoming increasingly popular among outdoor enthusiasts, providing a comfortable and convenient way to camp. If you own a Dropracks roof rack system and are wondering how to attach a roof tent to it, you've come to the right place. In this blog post, we will guide you through the process, ensuring a secure and hassle-free setup for your outdoor adventures.
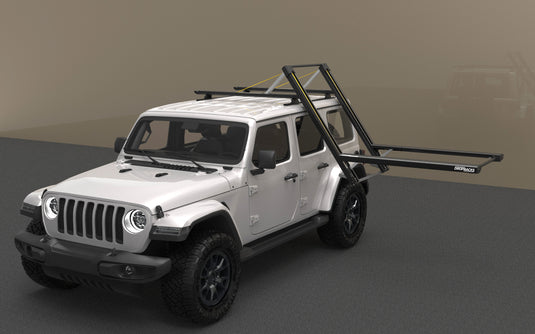
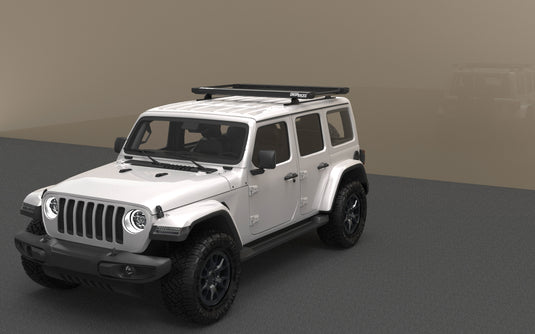
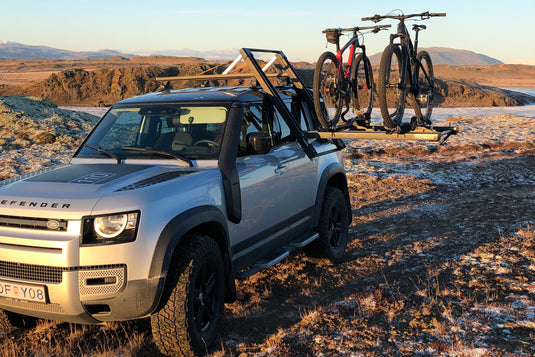
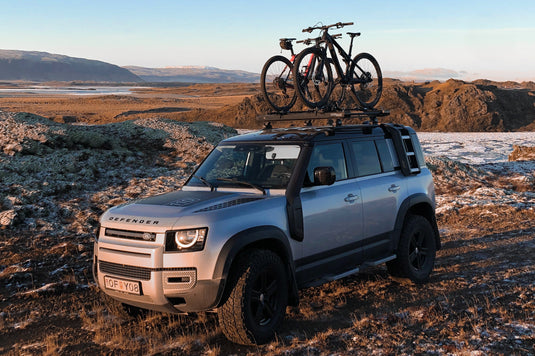
Before we begin, lets also have a look at some dimensions, and weight capacities, and specially have a look at the Static Capacity wich is the one to look for when the rack is in the closed position, on the car roof, and the car is parked.
Dropracaks XL
Lifting Capacity: 80 kg // 176 lbs
Driving Capacity: 100 kg // 220 lbs
Static Capacity, Locked on roof: 350 kg // 770 lbs
Total Width: 160 cm // 63"
Effective load width: : 150 cm // 59 "
CC-Distance T-Tracks: 85 cm // 33,46"
Drop: 80 cm // 31"
Height: 8 cm // 3,1"
//

Step 1: Gather the Necessary Equipment
Before you begin, make sure you have the following equipment on hand:
- Dropracks roof rack system (Regularor XL)
- Roof tent
- Minimum 4 metal plates with 2 or more holes
- T-bolts and Locknuts

Please note that you can often use the metal plates included with your roof tent.
We also made some universal plates from 3mm steel with several holes, that can be used for attaching a roof tent.

Step 2: Lift the roof tent onto Dropracks
Start by bringing your Dropracks roof rack down to convenient height, and put your tent on top.
Most tents have C-Channels facing downwards, running front to back, and Dropracks has C-Channels facing up, running side to side.
This is what we like to connect using our T-bolts / Carriage bolts and plates.
Step 3: Position the Plates
Start by positioning the four plates to the C-Channels under your roof tent and add the locknut. These plates will serve as the connection for attaching your roof tent. Place them in a way that evenly distributes the weight and provides a stable connection for the tent.
Step 4: Attach the T-Bolts
Using the T-bolts, attach T-bolts upward from the Dropracks channels and through one hole of each plate.
Attach one bolt downward from the roof tent and through the plates. Secure al bolts with the lock nuts.
Step 5: Additional Considerations
- While the minimum requirement is four plates and T-bolts, you may choose to use more for added stability and security.
- Follow the manufacturer's instructions for your specific roof tent model to ensure proper attachment and usage.
- It's advisable to distribute the weight evenly across the roof rack system and avoid exceeding the recommended weight limit.
Some Extra Tips and Tricks
1) It's ok to attach the tent above the cranking aeria if you have to. You can use wind the rack up and down, using the bottom 180 degrees of the motion.
2) If you have a roof tent that has some setup time, you may save yourself some work by cranking the rack down, setting up everything, and cranking the setup back up onto the roof, like in this Video:
Conclusion
Attaching a roof tent to your Dropracks roof rack system is a straightforward process that can enhance your camping experience. By following these steps and ensuring a secure connection, you can enjoy the convenience and comfort that roof tents offer. Remember to always prioritize safety and refer to the manufacturer's guidelines for your specific equipment. If you have any further questions or need assistance, don't hesitate to reach out. Happy camping!


